Palatal expander instructions help patients understand how this common orthodontic appliance works. The palatal expander “expands” (or widens) your upper jaw by putting gentle pressure on your upper molars each time an adjustment is made. The animation below will instruct you about when and how to adjust your expander. When you achieve the desired expansion, you will wear the appliance for several months to solidify the expansion and to prevent regression.
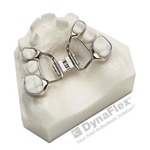
Palatal Expander Instructions
The start of your orthodontic journey may be overwhelming. If you’ve just had your palatal expander installed and come home only to realize you forgot all the palatal expander instructions you just went over, don’t panic! We understand that the process moves fast and you’re new to this! That’s why we’re provided palatal expander instructions conveniently on our website or for you to download and print with our PDF located below!
You can also download these palatal expander instructions in a printable PDF document.
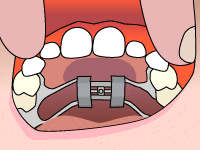
Step 1
In a well-lit area, tip the patient’s head back.
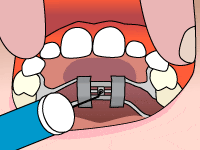
Step 2
Place the key in the hole until it is firmly in place.
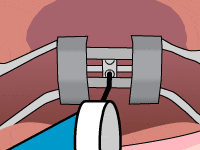
Step 3
Push the key toward the back of the mouth. You will notice the fender will rotate and the new hole will appear. The rotation stops when the key meets the back of the expander.
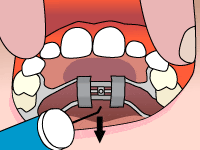
Step 4
Press back and down toward the tongue to remove the key. The next hole for insertion of the key should now be visible.
If you have any questions in regards to our palatal expander instructions, please reach out to a member of our team. We want to make the process easy and we’re here to help!
More Topics:
- About Orthodontics
- Life with Braces
- Brushing and Flossing
- Types of Braces
- For All Ages
- Early Prevention
- Orthodontic Retention
- Palatal Expander
- Emergency Care
- Orthodontic FAQs
- iTero™ Digital Impression System

